Showing posts with label clothingdiy. Show all posts

Friday, September 5, 2014

Knotted Crochet Headband


 I'm back with another clothing crochet project. This summer and fall I have been doing my best to add more easy clothing projects to the blog. I love projects like this one that are both incredibly easy and super cute. This crochet headband is cozy and since I used a neutral color it will be perfect to wear all Autumn long. I used the same crochet method I did with my crocheted pot holders, but this time the headband is a chain of only 12 long. I crocheted using my own head as template as I went and then crocheted the two ends together. To create the knotted section I crochet another seperate piece and twisted it before joining its ends and crocheting it onto my headband. That's it. super easy.


I really love how this project came out. I love knotted and turban style headbands and a crochet or knit version is the perfect way to carry this trend into fall and winter. I'd love to make more of these headbands in some more fall and winter hues. 

Let me know if you try this project, I'd love to see your results.
-Reagan

Tuesday, September 2, 2014

Granny Stripe Beanie


It has been a long term goal of mine to crochet a beanie without using a loom and I decided to try to tackle that project recently. This is my first attempt at crocheting a beanie, and overall I'm satisfied with how it came out. There are definitely improvements to be made, but for a first attempt it's not so bad.


 I began by trying to follow this tutorial, but it wasn't working with the weight of yarn I had so I stopped after following her instructions for the brim of the hat. And simply crocheted around the hat in a granny stripe pattern since I'm familiar with the stitches.


 The hat turned out rather large but it makes for a good slouchy beanie.
It's not bad for a first try but I think I will definitely try crocheting another beanie again soon.
-Reagan


Saturday, June 21, 2014

DIY Earrings


 I have been interesting in making jewelry for a while now but it's one of those things where you just don't know where to begin. I decided to begin by trying to making some fairly simple earrings.


 These were the supplies I ended up purchasing. I didn't end up using them all, but this way I have more supplies for my next jewelry project :) You will also need some needle nose pliers. I strongly recommend getting jewelry pliers because I had a somewhat difficult time using the needle nose pliers I had at home.  The process is simple enough, grab one of the pieces from your earring kit that looks like a push pin, thread on your beads leaving room at the end. Bend the end of the remaining wire to form a small loop at the end, close the loop using the pliers so the beads cannot come off. Pull the loop around the larger size earring hook around toward the front closure. It should rest in a little groove in the wire. That's it.

 Here is how my earrings turned out. This is a really great beginners project for jewelry making if you're interested in giving it a try. The most difficult part of the whole process is just shaping the loop at the end of the wire (& I'm sure there's probably a simple way to do it that I just don't know about).

 I'm really happy with how my earrings came out and am now totally excited to try out all sorts of new jewelry projects. 
Have you ever made jewelry? Tell me any tips you may have!
-Reagan


Friday, June 6, 2014

Crocheted Slippers

 The other day while trying to brainstorm ideas for new clothing DIY's I remembered the crocheted house slippers I wore around my grandma's house growing up. This is a project I had attempted to do before but never finished, so I knew it would be the perfect project to revisit.

 This is another really simple crochet project that comprised of 6 granny squares per slipper, I joined the squares with a half double crochet stitch all around the squares, including the opening for the foot. The size of your granny squares will depend on the size you want the slippers to be. My granny squares were 3 rounds and were roomy for me (women's size 9) and snug for my husband (men's size 12).
 This is another quick project as well, it took me one day of work ( I crocheted pretty consistently taking a few breaks). I think this is a really great project to make for children or as a homemade gift for someone. Everyone can use a pair of house slippers ;) & of course, you can make them in any combination of colors to suit anyone's taste.

This another quick clothing project that I'm sure I'll be working on again soon. 
-Reagan

Saturday, May 31, 2014

Crocheted Collar Pt. 2


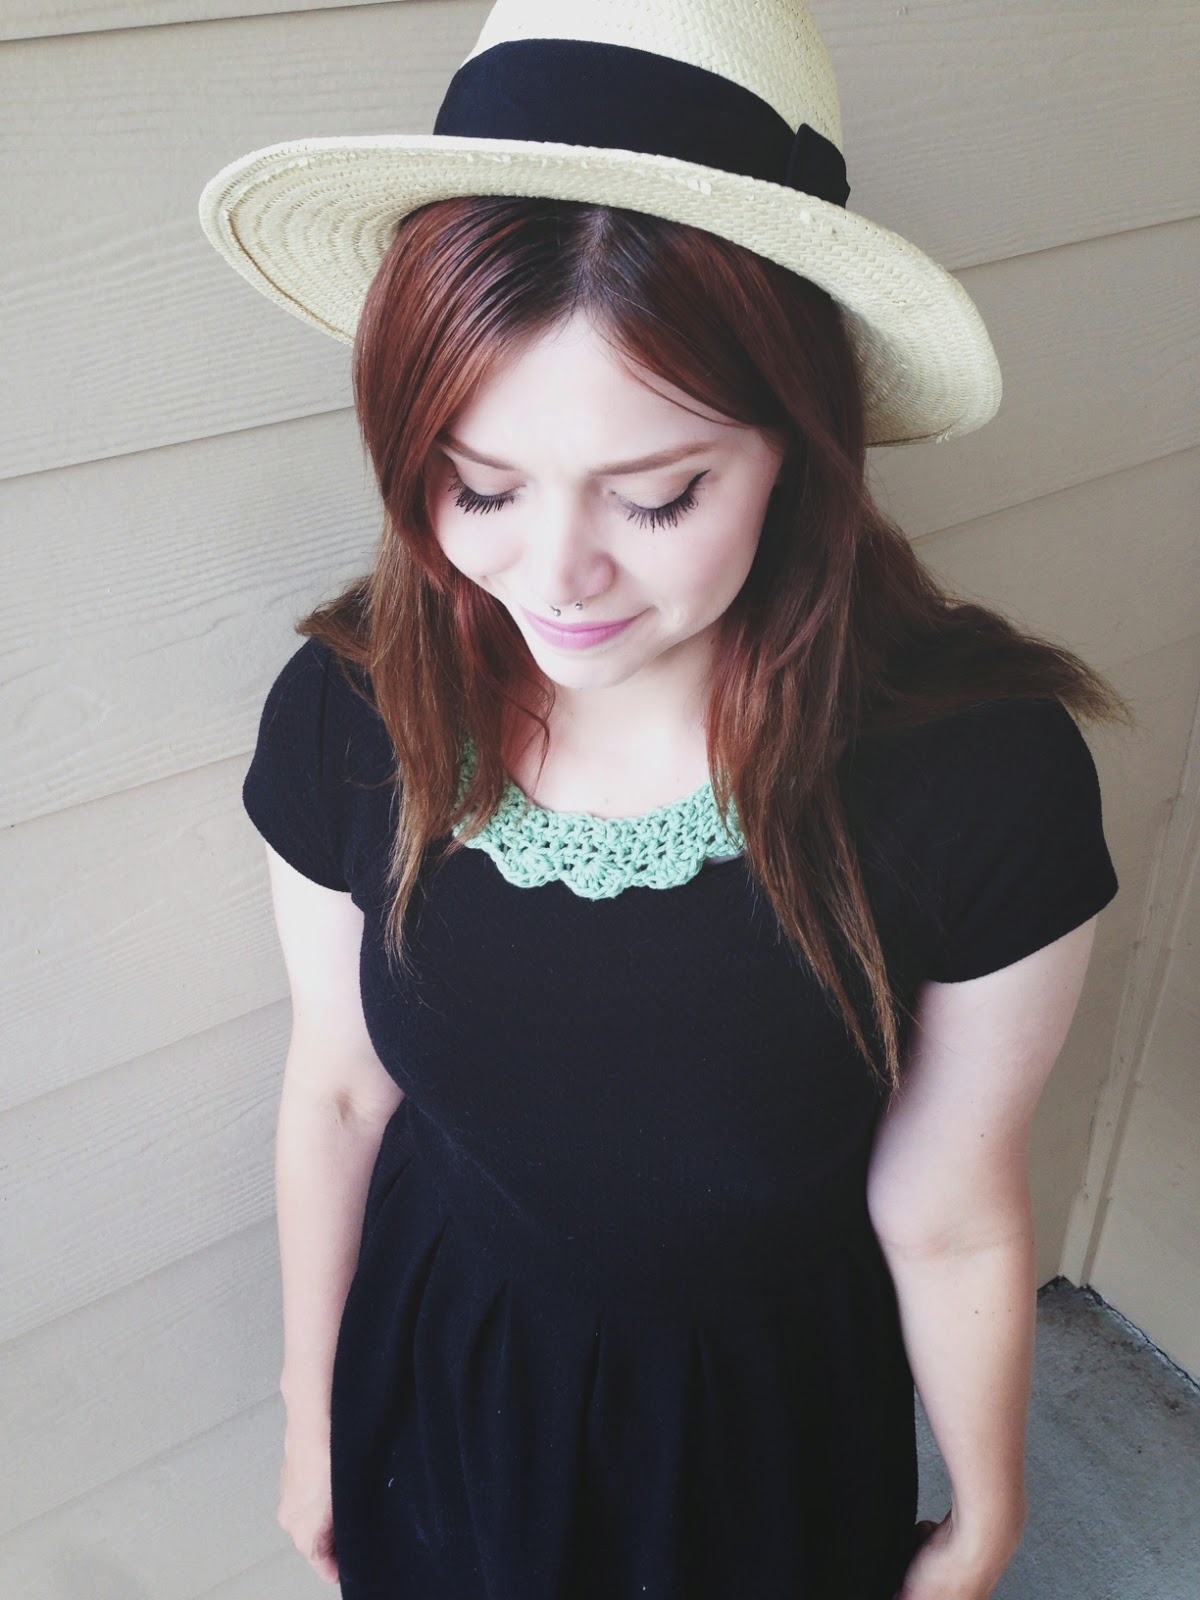
One of my biggest goals for HN this spring and summer has been to share more clothing diy projects. I've been trying to brainstorm some new projects and while attempting to crochet a headband I made a scalloped collar instead. I have made crocheted collars before, but it's a project I really wanted to revisit and put a new spin on.

This project is actually really simple and took me less than an hour (maybe even less than thirty minutes, it's a super quick project). I simply crocheted a chain to the length I wanted (in this case it was just large enough to fit over my head). Then I joined the chain to form a circle. The next step was to double crochet around the the circle for two rounds. The final step was to crochet around the circle using the shell pattern. That's it! super simple.

 I love how this collar turned out and how quick it was to make. I know I'll be be making some more soon because it's just too easy!
Do you know any cool clothing diy projects I just gotta try?
-Reagan

Thursday, May 29, 2014

DIY Boho Crochet Halter Top

 This project was one I have been wanting to do for awhile now. Pretty much ever since I came across this pin on Pinterest. It seemed simple enough, and so without any diy instructions to go on I decided to make one of my own.

 To make the top I first crochet two granny triangles for the upper portion of the top, and crocheted 7 granny squares for the lower portion. How large your squares are and how many rounds will depend on the size you are making your halter. The one I made is actually on the larger side, but that's okay with me. I attached all the squares and then used a simple chain stitch to join to upper and lower portion of the top. After the basic pieces were joined I went around the entire upper portion of the garment using double crochet stitches and continued this for the neck strap/halter strap portion of the garment. I weaved in any loose ends, and viola! I have my very own boho style crocheted halter top.

This isn't very difficult as far as crochet projects go, and took me a day and a half to make. I don't know what was stopping me from attempting a project like this for so long because it turned out to be a lot more simple than I expected. This makes me want to try to tackle more diy's that I've been too scared to try.
Have you ever crocheted any clothing?
-Reagan

Tuesday, April 8, 2014

Spring Floral Crown DIY

 Well I've been wanting to make my own floral crown for so long now and I finally got around to gathering all the supplies I needed to make one to wear this spring! I'm so excited and decided to share with you a few photos so you can make one for yourself if you'd like. It's incredibly easy and cute to wear for spring or summer :)

 Here is what you will need, a head band, some scissors and some fake flowers of your choosing. I got these from Walmart for $3. Not pictured is a hot glue gun and the glue sticks., also purchased from walmart for less than $5. 

 You will need to begin by plugging in your hot glue gun and preparing the glue sticks. Let that get hot and start cutting the flowers from their stems as close to the base of the flower as you can to try to get the surface as flat as possible. The rest is pretty simple, just add a dollop of glue onto your headband and press a flower down onto the glue until the glue dries and the flower is secure. You may need to add more glue to secure to flowers in place. Continue your way around the headband spacing the flowers about an inch or so apart leaving a little extra space at the end for easier wear.


This project is really quick and pretty inexpensive to make too. I also love the fact that it's so customizable that you can make one to suit your own taste in your favorite colors, with your favorite flowers. You can even make one for ever season. I've got another version I'll be sharing with you soon :)

I'm so happy with how this came out. I'm a little sad I didn't make one sooner because it was so cheap, easy, and quick to make. Figures. Anyway, if you've been interesting in making one I strongly encourage it. 
Happy Tuesday 
-Reagan

Friday, January 24, 2014

Adventures with Fabric paint: Denim Shirt Update

 So I've been interested in trying out fabric paint or dye for some time and I finally picked up some cheap fabric paint from Walmart recently to play around with. 
I wanted to do a project that was simple, wearable, and my style.

I decided I wanted to do a polka dot/ dalmatian dot pattern on select sections of my older denim button-up shirt, which was also originally from Walmart.
I shook the bottle as directed and then applied the paint by hand in dotted pattern.

I put it on the section around, but not on the collar and on the pocket flaps.

I used Tulip Slick paint in black.

The paint took four hours to dry and is machine washable 72 hours later.
I'm really happy with how my first project with fabric paint turned out. I can't wait to try something else out.
Any suggestions?
-Reagan

Wednesday, January 8, 2014

Crocheted Cowl

 I'm finally feeling a bit better, and I'm happy to be back to posting. Today I wanted to share a crochet project I worked on between sleeping these past couple of days. I came across this pin on pinterest recently and was introduced to Gleeful Things a blog By Julie, a Crochet designer. In this tutorial she shared how to make a headband with a cool diagonal stripe pattern. Although I'm horrible at reading patterns I gave it a try and decided to enlarge the design a bit to make a cowl/ circle scarf and I wanted to share my results.


Julie's instructions are very easy to follow even for someone who has difficulty reading patterns. This project only took me a couple hours total and one skeen of yarn. 
I really just wanted to try crocheted a scarf but I'm not a skilled crocheter and this was the perfect beginner's project.


For the full tutorial and to check out even more crochet patterns go check out Gleeful Things!

-Reagan

Tuesday, July 30, 2013

Diy: Turban Handband


Begin by cutting two pieces off the bottom of a cotton t-shirt (I used a men's small), the pieces should be 3-5 inches wide.


lay the pieces down in a cross formation with the pieces slightly off from the middle.


 Fold the vertical piece over first and then the horizontal piece over that. It should look like the image above.

 separate the halves in to top a bottom sections.


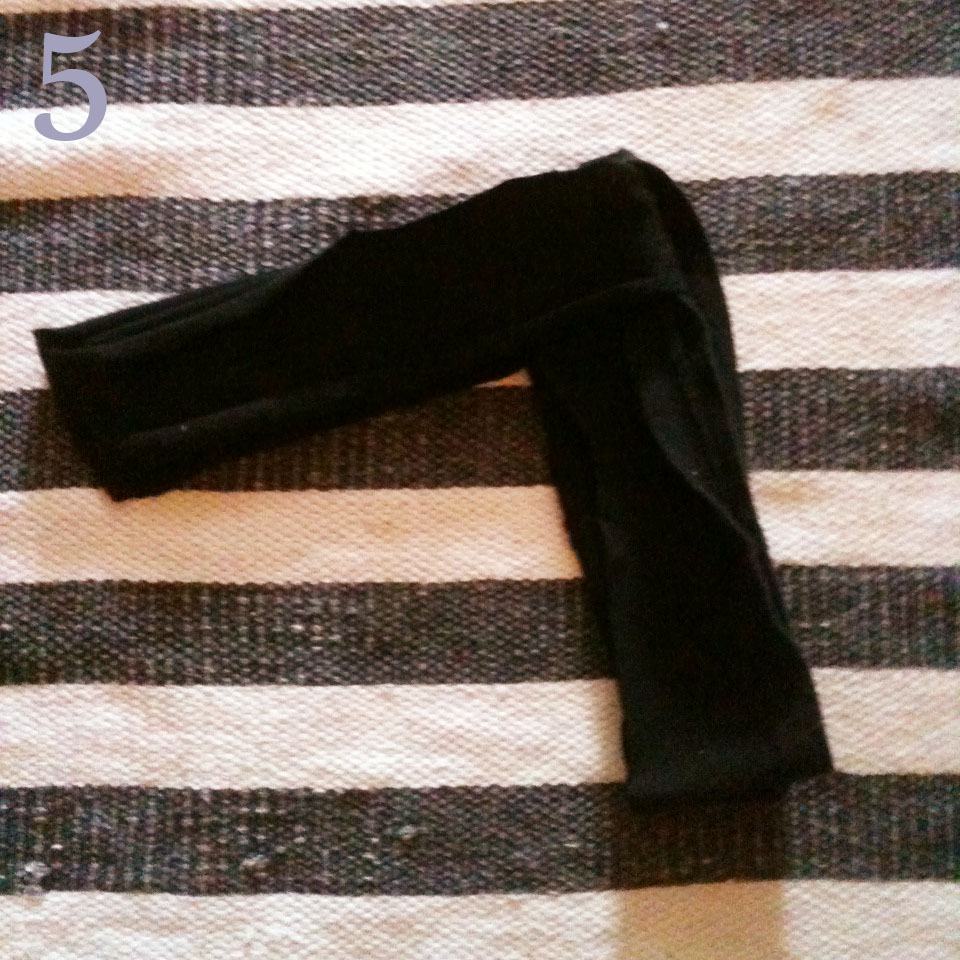
fold the bottom pieces into the top pieces (on both sides) so that it looks like the above image. (you may have to tuck in some bits and arrange the knot a bit to get it to sit right).

Repeat the process of tucking the upper section into the lower section (your head band should be the inception version of a headband. 4 layers, a headband within a headband). flatten and arrange your knot to make it the most comfortable. viola! you have your very own turban headband!


 I suggest using a solid color fabric for this as it hides any weird folds or what not. These headbands work great for girls with or without bangs and are also super handy for gym use! You can add little stitches to hold the pieces in place if you'd like but it's still easy to wear without. The best thing about this DIY is that you can finally find a use for any old T shirts you've had lying around. nothing better that a DIY that costs no money ;)

 This (as usual) is a pinterest inspired project. To find the original instructions check out Cultured Blog. (Her instructions are a bit more comprehensive so if you have any questions after following mine, do be sure to take a peek at her's as well!)

-Reagan

Wednesday, November 21, 2012

Crocheted Collars


I've been crocheting a lot again lately. It always happens when the temperatures start to go down. If you knit or crochet you probably know what I'm talking about. Crochet projects are perfect for those chilly days when you don't feel like getting out of your warm bed. I've used these days as an excuse to try to learn something new. I love the look of peter pan collars and I have come across several diy projects on pinterest that inspired me to try to crochet some pretty collars of my own. I used "The Encyclopedia of Stitchery by Mildred Graves Ryan to teach myself a new stitch and in the process crocheted the top two collars. The bottom photo was my first attempt that you may remember from my outfit post a few days ago. The last one I made is the coral collar in the second photo and it is by far my favorite. I used a lighter weight yarn and a lighter color to allow all the detail to be visible and I'm really happy with how it turned out.
I can't wait to make more and learn more new stitches :)
Whats your favorite chilly weather hobby?
-R